To effortlessly begin automating your website indexing with WarpIndex, follow these straightforward steps:
Login to WarpIndex using either your business email or your Google account credentials.
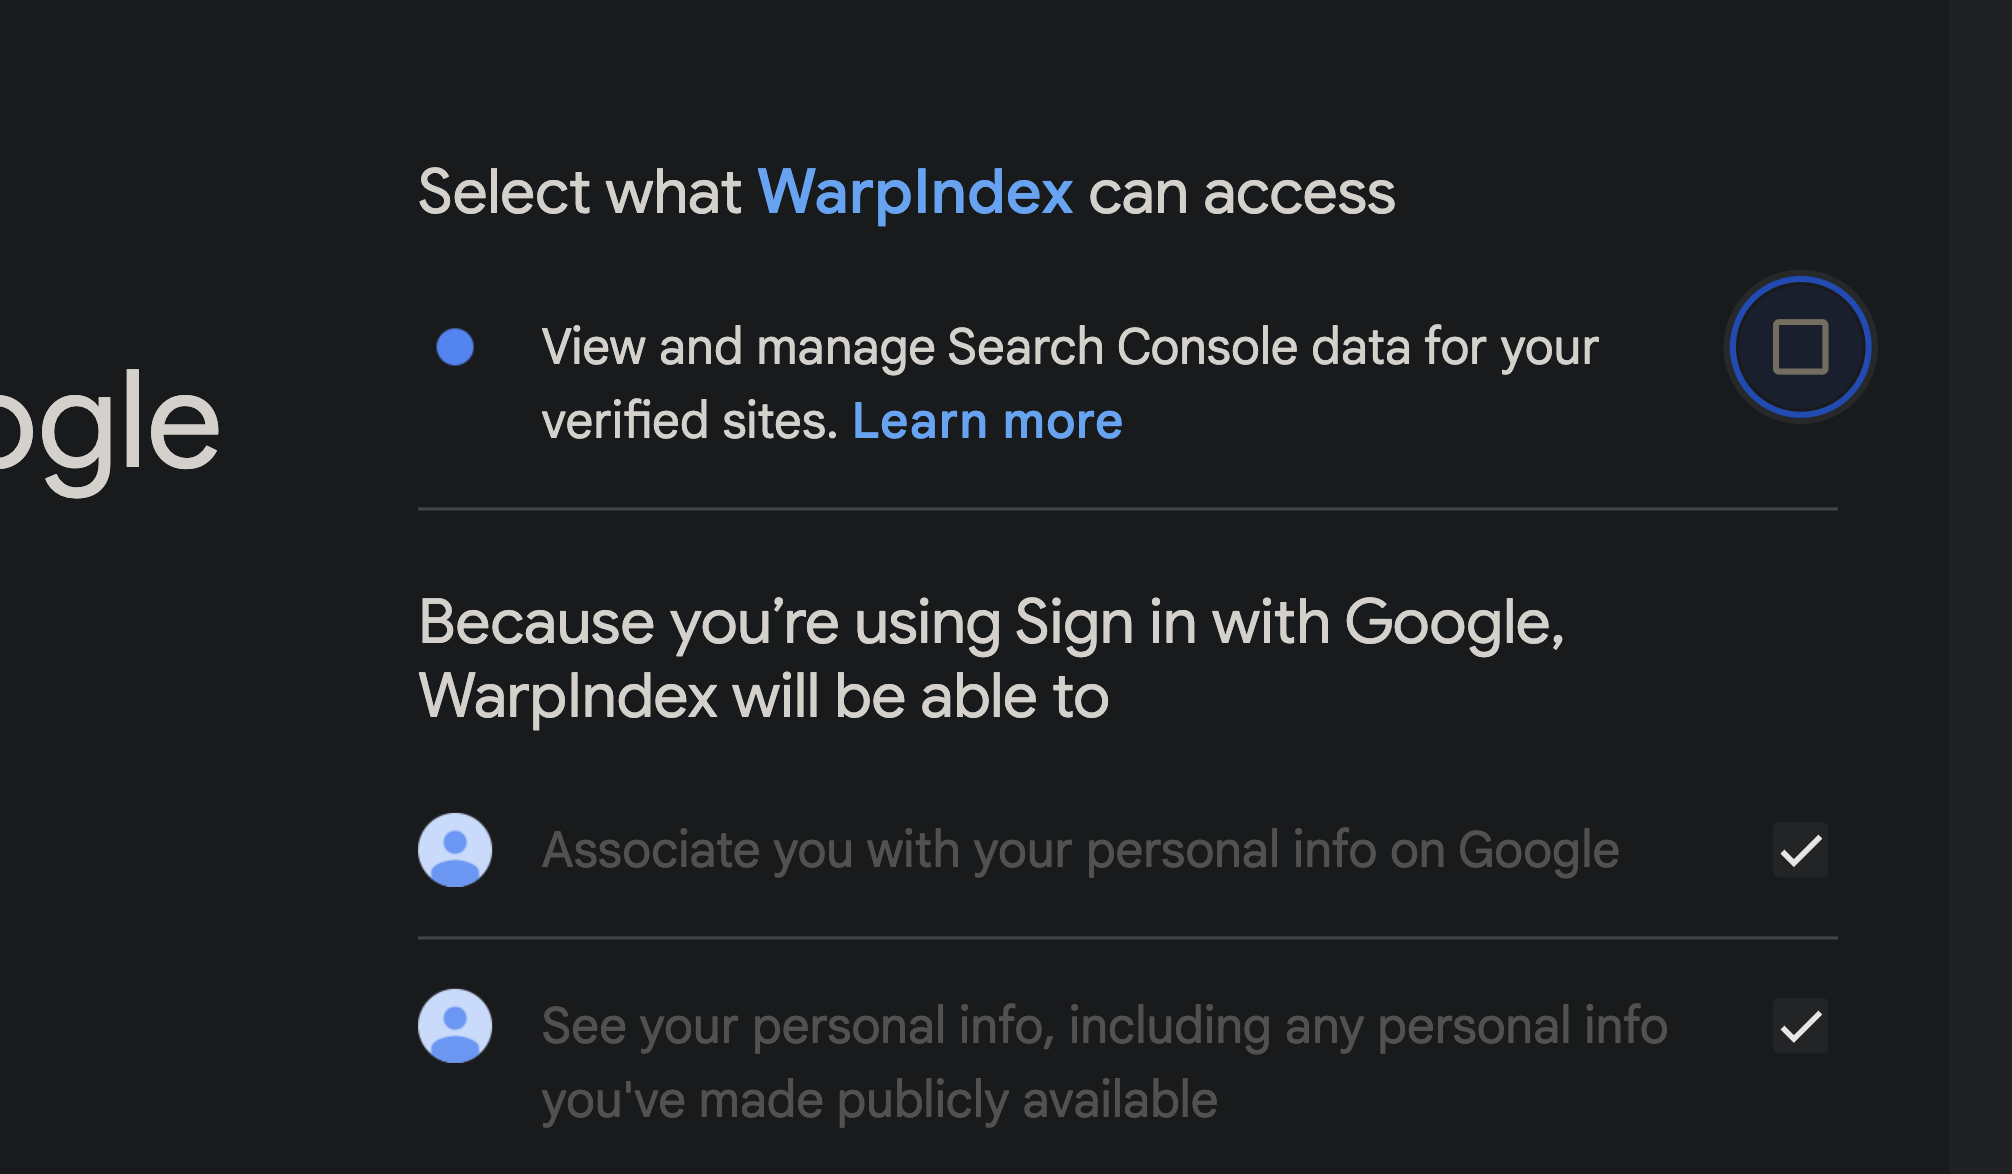
Once logged in, seamlessly integrate your Google Search Console account by adding the associated email under "GSC Connections" and by clicking on "Add Connection".
Make sure you check the "View and manage Search Console data for your verified sites" permission before pressing continue.
Navigate to the "Add Website" section and select your GSC account. WarpIndex will promptly identify the website linked to your GSC account.
With your website detected, simply click the website you want to add to WarpIndex. Congratulations! Your website is now seamlessly integrated, ready to embark on its automated indexing journey with us.
You can also add your service account, by simply going to the add service account option and following the prompt. Just copy the provided domain address and go to your GSC account, then click on add user and paste the copied domain address there. Make sure you change the permission to 'Owner' for WarpIndex to start auto-indexing your website.
With these steps, you're set to enjoy the convenience and efficiency of automated website indexing with WarpIndex.
WarpIndex did not show you sitemap? Click here to find a solution https://help.warpindex.com/en/articles/25-how-to-add-service-account-and-sitemaps-to-warpindex