Setting up indexing for your website with WarpIndex is easy! Just follow these simple steps:
1. Start by logging in to WarpIndex using your business email or your Google account credentials. This will give you access to the WarpIndex dashboard.
2. After logging in, you'll want to integrate your Google Search Console (GSC) account. Simply add the email associated with your GSC account under the "GSC Connections" section. This step ensures smooth communication between WarpIndex and Google's Indexing System.
3. Navigate to the "Add Website" option and here, you'll see the option to select your GSC account. Once you've chosen your GSC account, WarpIndex will automatically detect your website linked to that account.
4. With your website detected, all you need to do is click on the website you want to add to WarpIndex. It's as simple as that!
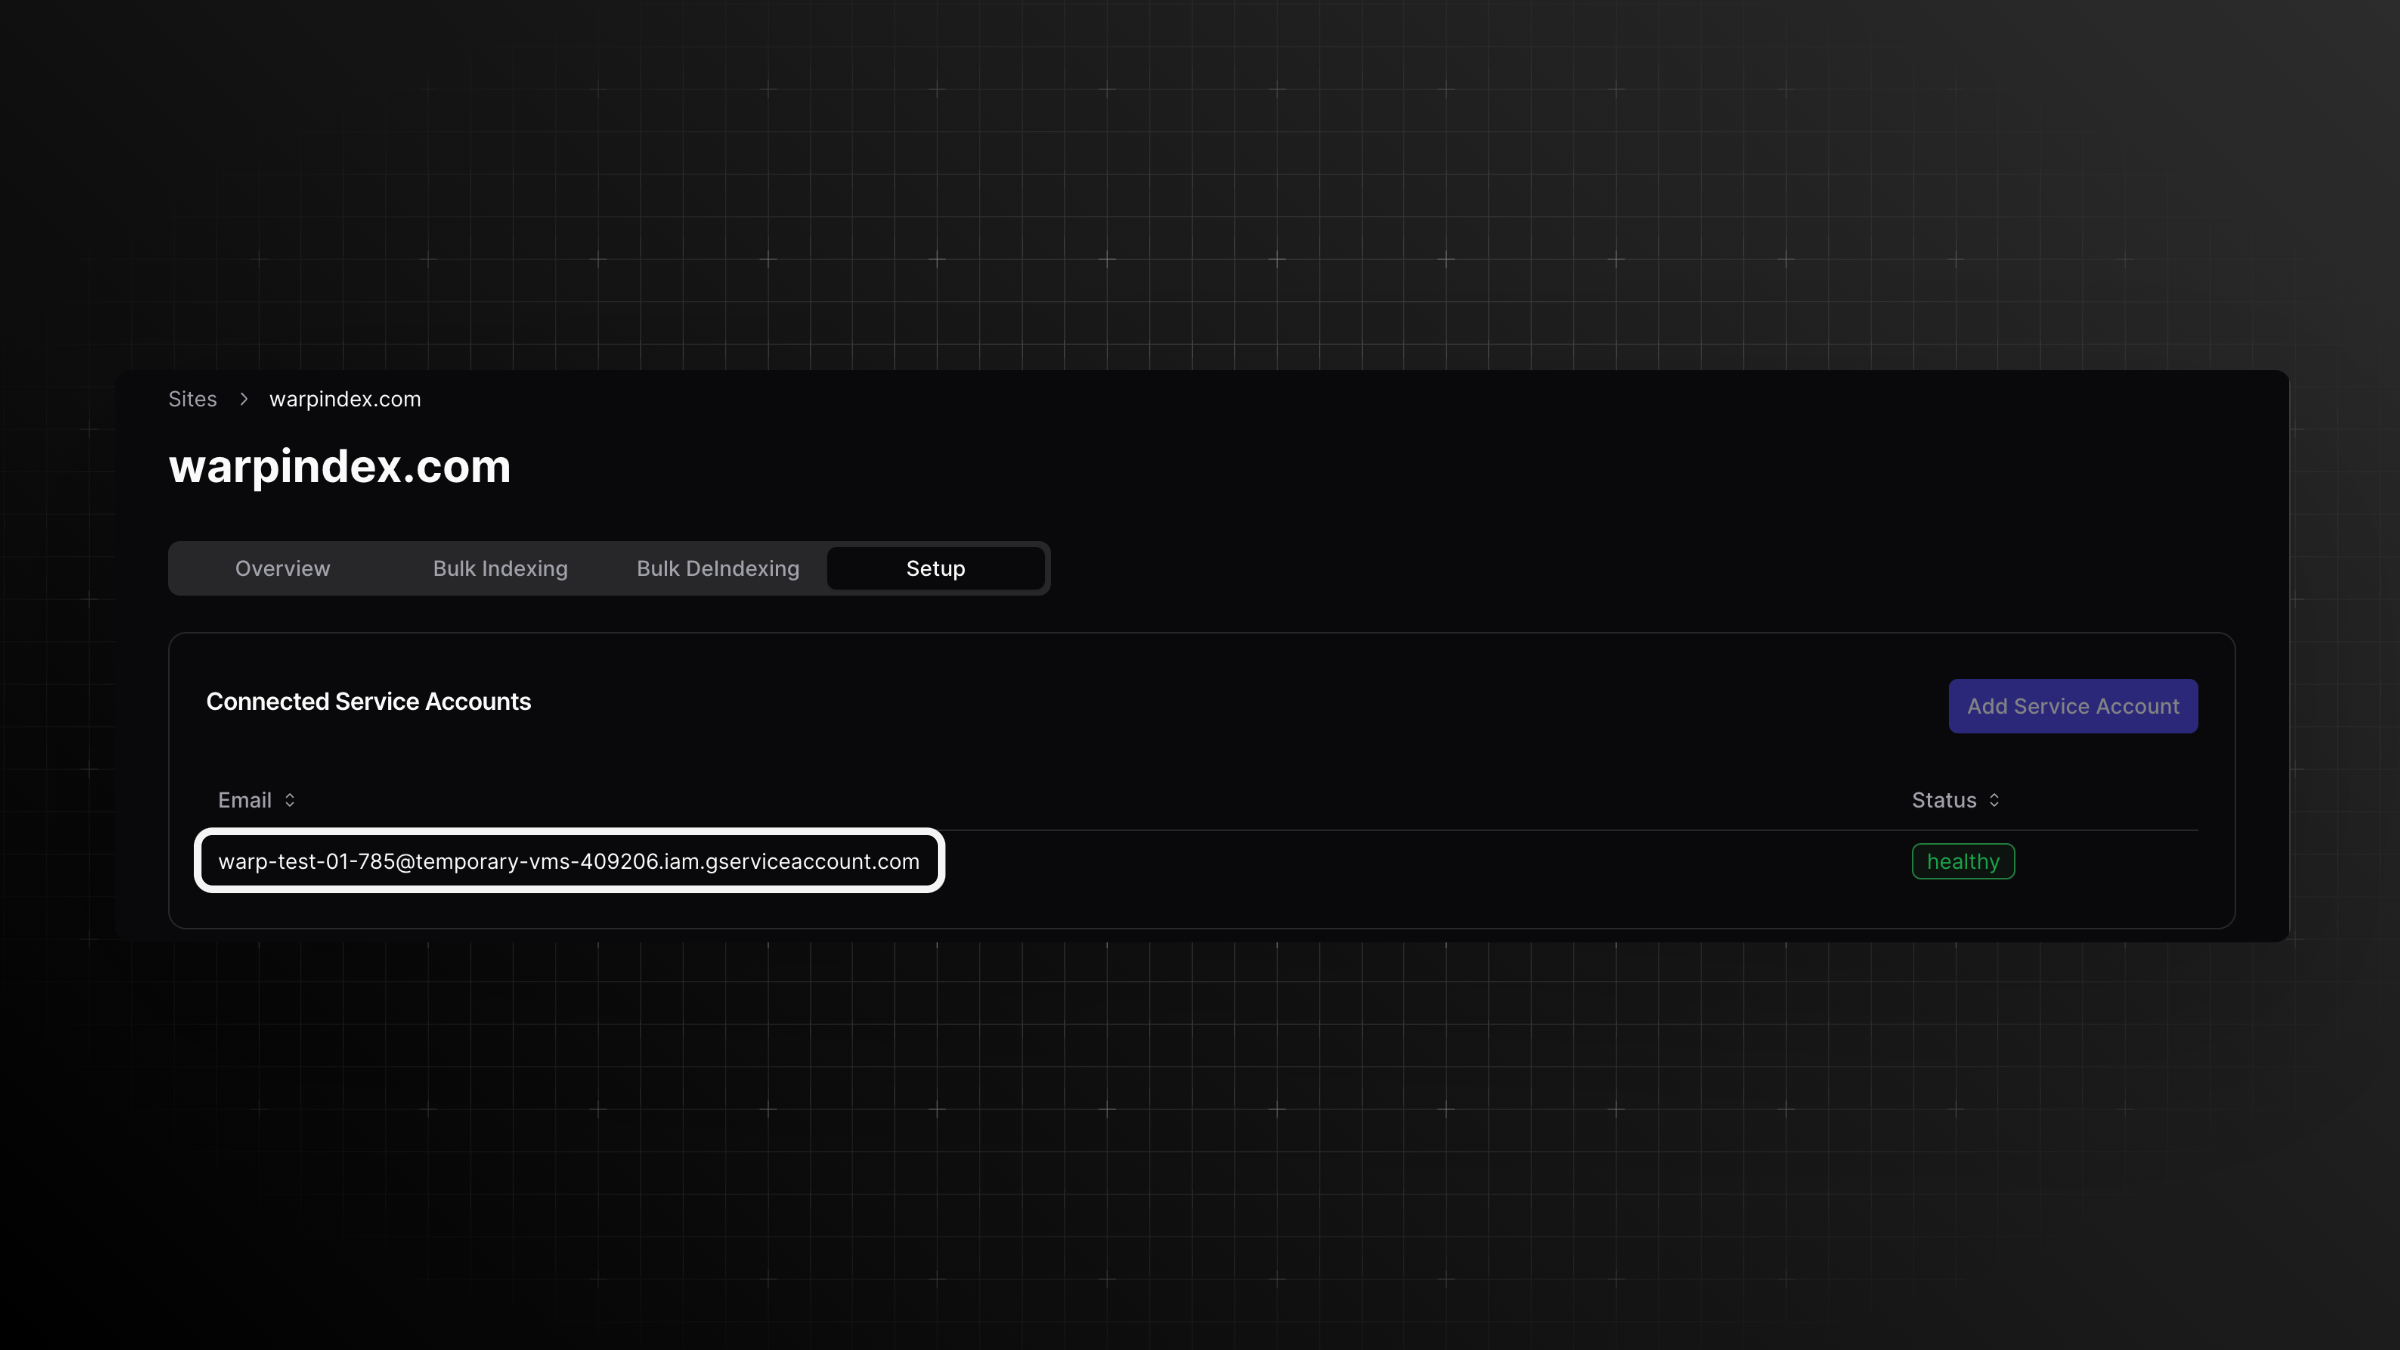
5. After, you can add your service account to WarpIndex by simple clicking on "Add Service Account", here you can add WarpIndex as owner to the website you want to index in your GSC account ensuring Auto-Indexing.
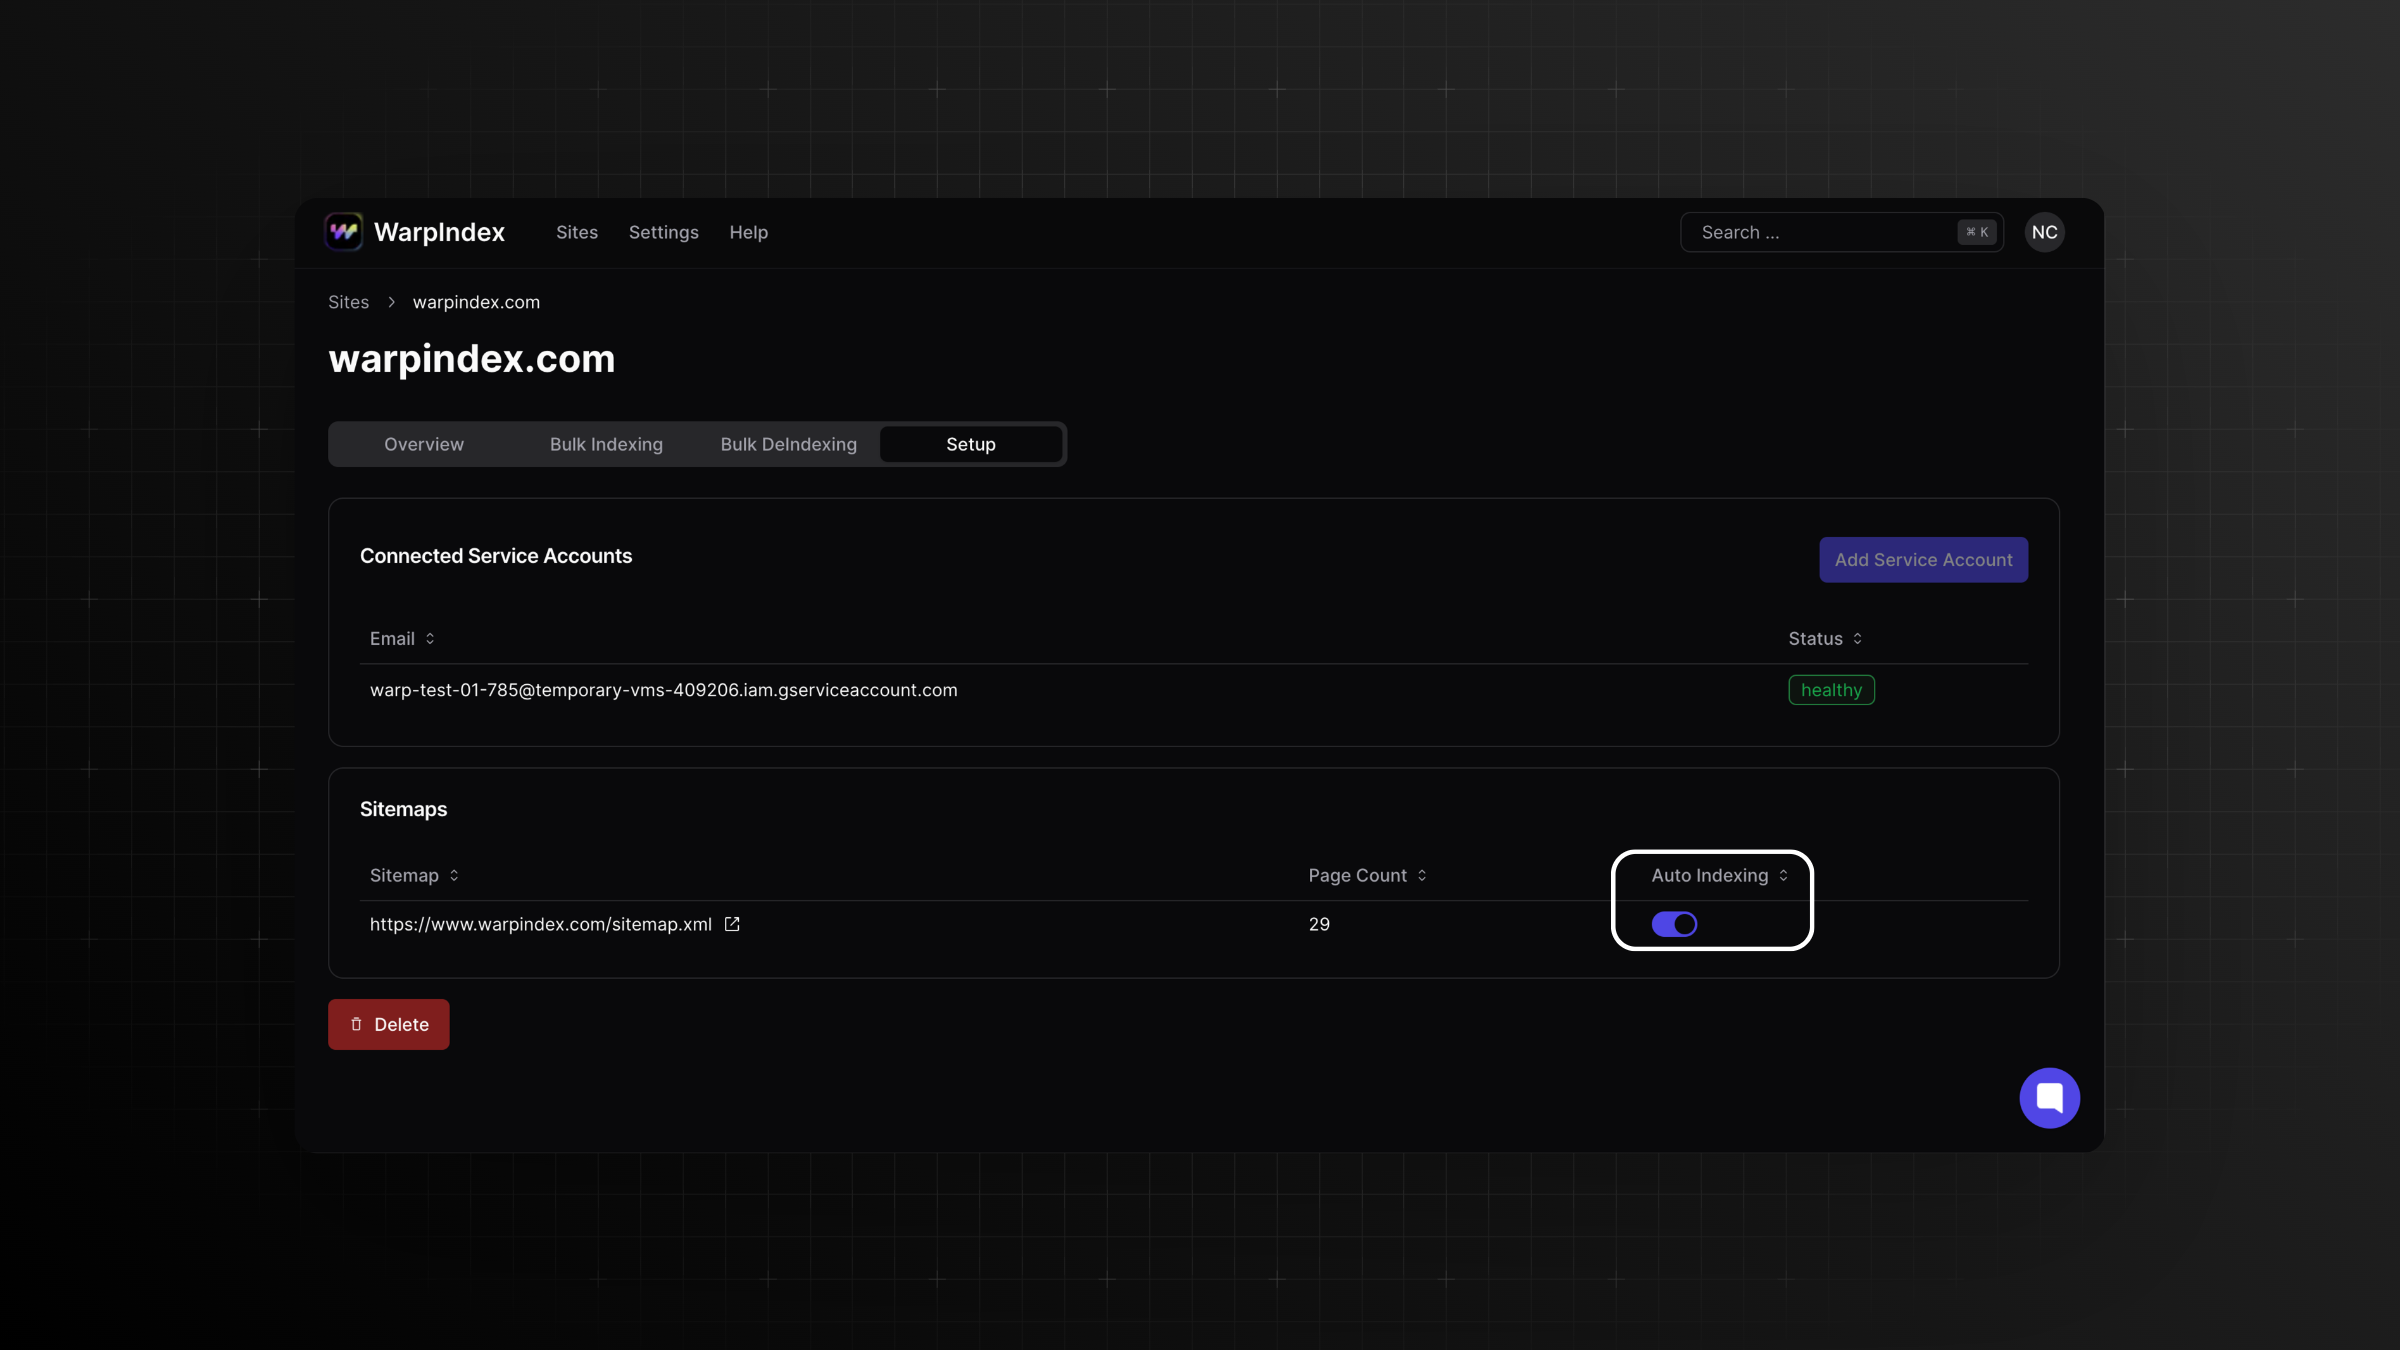
6. When you add your website to WarpIndex, it automatically detects and adds your site map along with its URLs. This ensures that all pages of your website are included for indexing.
7. If you prefer, you can manually control whether your website is indexed automatically or not. Simply toggle the "use for auto indexing" option according to your preference.
By following these steps, you'll have successfully set up indexing for your website with WarpIndex, ensuring that your site's content stays up-to-date and visible in search engine results.
WarpIndex also gives you an option to get your website Bulk Indexed/De-Indexed. Here is a small tutorial on how to do it: